Hey crafty people!!
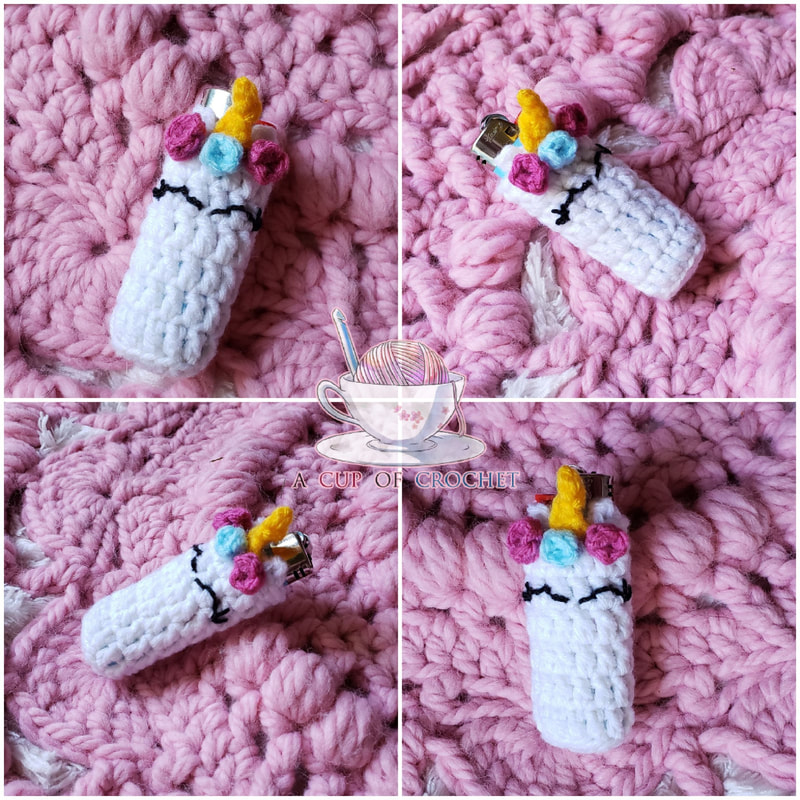
This week I wanted to share my Unicorn Lighter Cover pattern with you all. If you missed last weeks blog post, scroll down and you will find my MerTail Lighter Cover pattern. You can also find the link to my mature/novelty lighter cover pattern only available on Ravelry. I am still not great at these introductions so let just jump right on into it shall we!! ** Do not copy, sell, or distribute this pattern. Do not use pattern photos to advertise your own products. Advertising and\or selling of your personal finished pieces is encouraged but please give pattern design credit to A Cup Of Crochet and link back to my blog. Thank you! **
This part of the pattern is worked in rounds. End each round by joining the last stitch to the first stitch using a slip stitch. Beginning chains do NOT count as a stitch throughout the pattern therefore the first stitch of each round will go in same stitch as the chain.
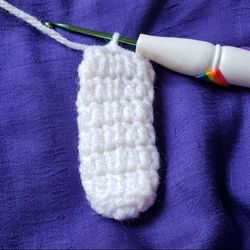
Body
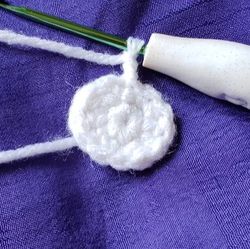
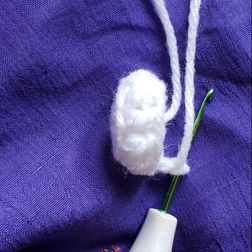
Using the white yarn or cotton. Start with a magic circle and Sc 6 into the center. Pull closed and Join with a slst.
Tie off and use your needle to sew in ends.
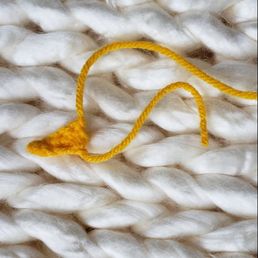
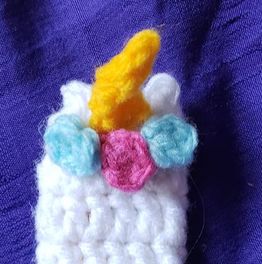
Horn
Using yellow yarn or cotton. Start with a Ch 6 leaving a long tail to sew with later.
Tie off.
Tie off.
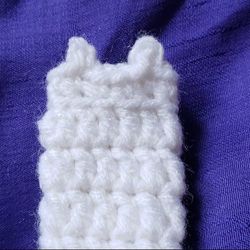
Eyes
Using black lace weight yarn and your needle. You will be sewing the eyes into the front of round 6 of the body. Follow the pictorial below or watch a quick tutorial here 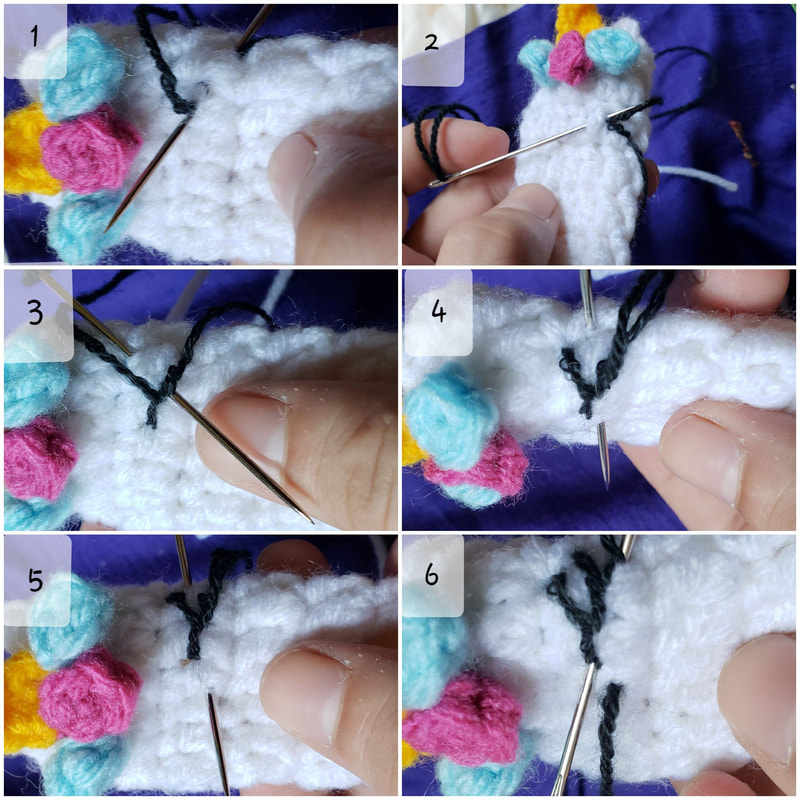
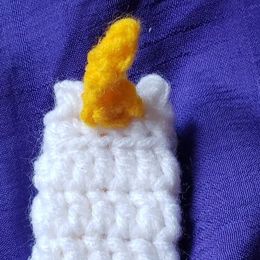
All Done!!!
I hope you enjoyed this pattern. Please feel free to contact me with any questions or if you notice any errors. We are all human and don't always catch our own errors so I appreciate any opportunity to be a better designer and pattern writer. Thank you!! Tag me of social media!! I would love to see your Unicorn Lighter Covers. Until next time, Kay - A Cup Of Crochet
0 Comments
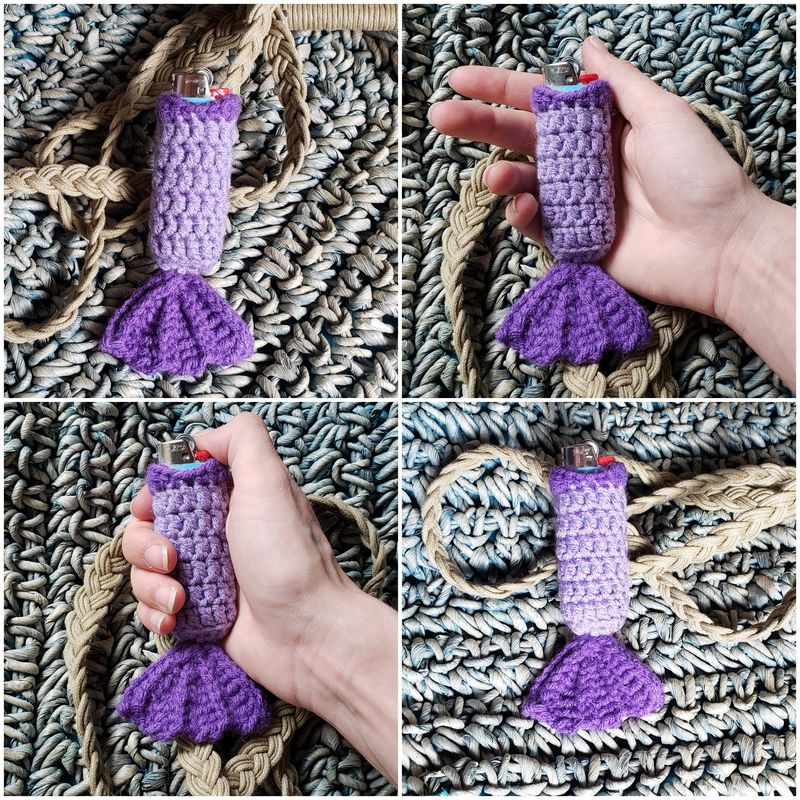
Hey crafty people!!
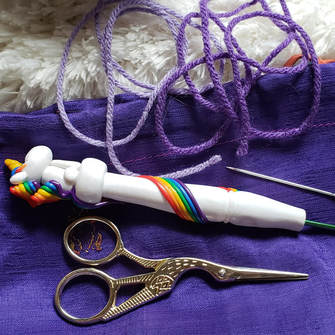
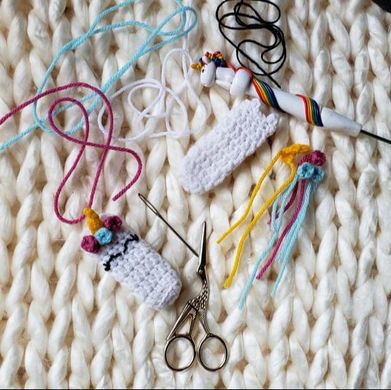
I am so excited to post my first free blog pattern for everyone. I wish I could say that I was confident that I am going to nail this but truthfully I am terrified that this is going to be a mess. But as they say, "practice makes perfect"!! So I better get to practicing here and now. Thank you for your interest in making this adorable accessory project!! I have been making so many lighter covers lately. They work up quick and use little yarn so this is a great stash buster project!! They also make great gifts. This is not my first lighter cover pattern though. I have already designed one in the past that is "mature content" and more of a novelty type project. They made great fathers day gifts though. If you would like to take a peak at that pattern it can be purchased here for only $1!! I have plans for a few more lighter cover patterns that I cant wait to share with you all too!! ** Do not copy, sell, or distribute this pattern. Do not use pattern photos to advertise your own products. Advertising and\or selling of your personal finished pieces is encouraged but please give pattern design credit to A Cup Of Crochet and link back to my blog. Thank you! ** Let's get started!!! Materials Needed 2 shades of worsted weight yarn or cotton 3.25mm (D) crochet hook Scissors Needle I use a small amount of each color of Bernat Super Value for my lighter covers. Gauge- 4 Dc and 2 rounds = approximately 1 inch.
This part of the pattern is worked in rounds. End each round by joining the last stitch to the first stitch using a slip stitch. Beginning chains do NOT count as a stitch throughout the pattern therefore the first stitch of each round will go in same stitch as the chain.
Body
Start with a magic circle and Sc 6 into the center. Pull closed and Join with a slst. 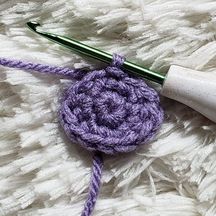
Round 1-
Sc and Hdc in the first st, Dc inc, Hdc and Sc in the next st, Sc and Hdc in the next st, Dc inc, Hdc and Sc in the last st. Join with a slst. (12) 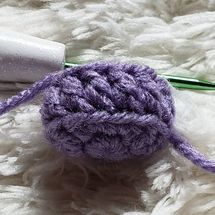
Round 2- Ch 2. Dc Blo in each st around. Join with a slst. (12) 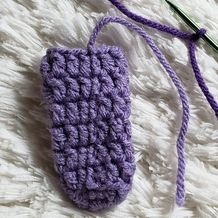
Rounds 3-7 - Working in both loops. Ch 2. Dc in each st around. (12)
Tie off and switch colors.
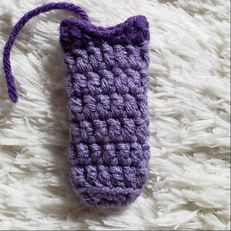
Round 8-
Sc in the st you tied off on in round 8, Slst in the next st, Sc, Hdc and Dc in the next st, Dc, Dc and Hdc in the next st, Sc, Slst in the next st, Sc, Hdc and Dc in the next st, Dc, Dc and Hdc in the next st. Join with a slst. (16)
Tie off and use your needle to sew in ends.
This part of the pattern is worked in rows. End each row by chaining the amount given and turning your work.
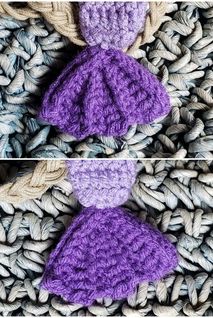
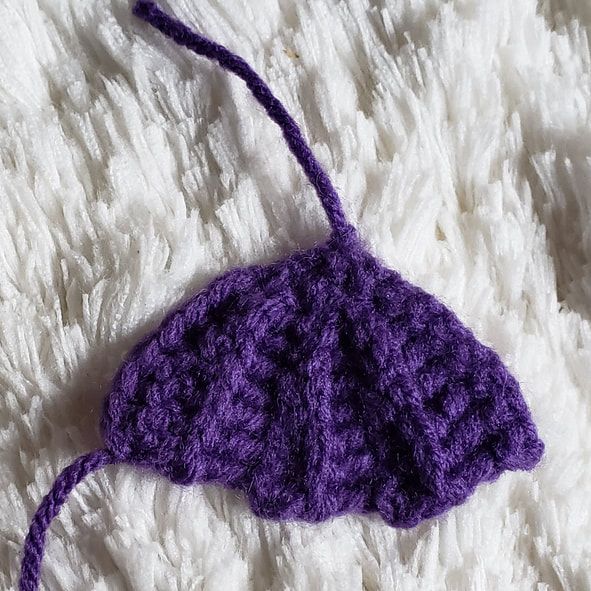
Tail
Start with a Ch of 11 leaving a long tail to sew with later. Row 1- Starting in the second ch from your hook Sc in each ch across (10) Row 2- Ch 1 and turn. Slst in the first 3 st. Fp Sc in the next 2 st. Fp Hdc in the next 2 st. Fp Dc in the last 3 st. (10) Row 3- Ch 2 and turn. Fp Dc in the first 3 st. Fp Hdc in the next 2 st. Fp Sc in the next 2 st. Slst in the top of the slst. Leave the last 2 slst unworked. (8) Row 4- Ch 1 and turn. Fp Sc in the first 2 st. Fp Hdc in the next 2 st. Fp Dc in the last 3 st. (7) Row 5- Ch 2 and turn. Fp Dc in the first 3 st. Fp Hdc in the next 2 st. Fp Sc in the next 2 st. Sc in the second slst from the second row. (8) Row 6- Ch 1 and turn. Fp Sc in the first 2 st. Fp Hdc in the next 2 st. Fp Dc in the last 3 st. (7) Row 7- Ch 2 and turn. Fp Dc in the first 3 st. Fp Hdc in the next 2 st. Fp Sc in the next 2 st. Slst in the first slst from row 2. (8) Row 8- Ch 1 and turn. Fp Sc in each st across. (7) Tie off and use your needle to sew in that end.
Assembly-
Use the photos below as reference.
Thread your needle with the end from your starting chain on the tail.
1. Insert your needle through the side of the Sc from the beginning round of the body, pull your yarn though. Insert your needle through a stitch on the tail in the center, pull your yarn through. 2. Insert your needle in the center of the magic circle from the beginning round of the body, pull your yarn through. Insert your needle through a stitch on the last row of the tail, pull your yarn through. 3. Insert your needle through the side of the Sc from the beginning round of the body, pull your yarn through. Tie off and use your needle to sew in ends.
All Done!!!

I hope you enjoyed this pattern. Please feel free to contact me with any questions or if you notice any errors. We are all human and don't always catch our own errors so I appreciate any opportunity to be a better designer and pattern writer. Thank you!!
Tag me of social media!! I would love to see your MerTails. Until next time, Kay - A Cup Of Crochet Get To Know MeWhen crochet meets coffee some amazing things happen. Hi all!! My name is Kay (Koryn) and I am the brains, hands, and face behind A Cup of Crochet. I was taught the basics of crochet when i was in elementary school. A friends grandmother would sit us down and teach us. Throughout the years I took every opportunity to try new crafts. I took every art class available, from drawing to sculpting I did it all. But something about crochet grabbed me harder than the rest. And as they say, "the rest is history". Towards the end if high school I dove into my first solo big project. A king size blanket for my dad. Using worsted yarn and a 5mm hook doing all single crochet stitches... Needless to say that took me a few years to finish, between graduating high school, working, moving out on my own, and going to collage. But he will swear it was worth the wait, despite its many many flaws. From there I made several more blankets for myself and family members. In the beginning of 2017 I decided to turn my hobby of crocheting into more than just a hobby. It started with my doggies. i wanted to make them cute toys. So i started Kays Crochet Dog Toys and More. As i soon discovered my talent for pattern designing, I changed my name to This Is Kays Crochet Designs and began designing patterns. It was wonderful. I connected with some amazing designers and makers, all so inspiring and sweet. But I felt I wasn't reaching my true potential. It was then i sat down with my coffee and took a long hard look at my work and at what the future held.. That's when it hit me. Crochet, coffee, these 2 things were my lifelines. They both kept me going and kept me calm and I started to notice that people agreed. A warm cup and some crochet is all you need to be happy. I needed to bring that vibe, that sense of "mmmmmm" to everyone. So that is when A Cup Of Crochet started. And let me tell you, this delicious combination is here to stay! I have and will continue to work hard every day to be able to live my passion. This is my first Blog post so I hope it was enjoyable and informative in a way. Feel free to comment ideas for future Blog posts. I want to talk about what you want to hear about. Thank you for taking to time to learn a little bit about me and my business.
|


 RSS Feed

